
|
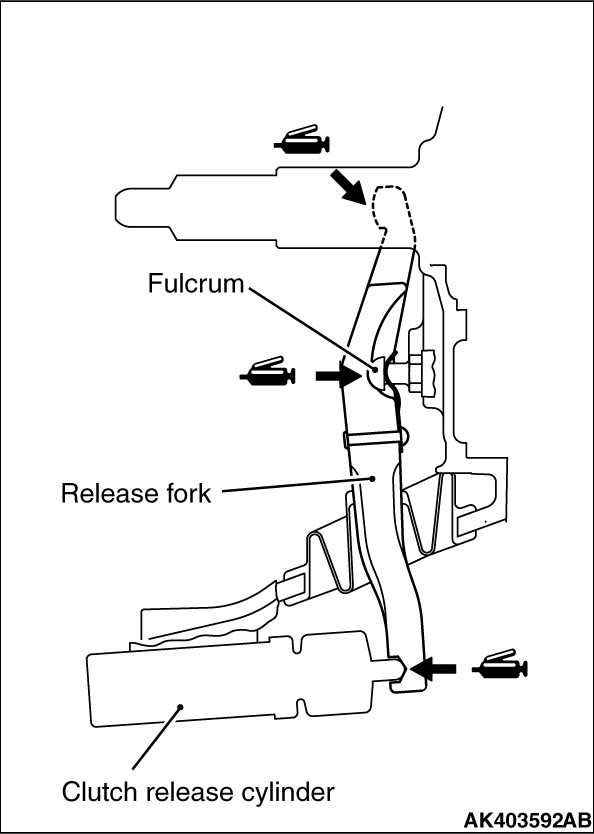
Slide the release fork in direction of the arrow and disengage the fulcrum from the clip
to remove the release fork. Be careful not to damage the clip by pushing the release fork in
the wrong direction or removing it with force.
|
|
1.Apply the specified grease to the release fork.
Specified grease:
Mitsubishi Part No. 0101011 or equivalent
2.Install the release fork onto the fulcrum.
|
|
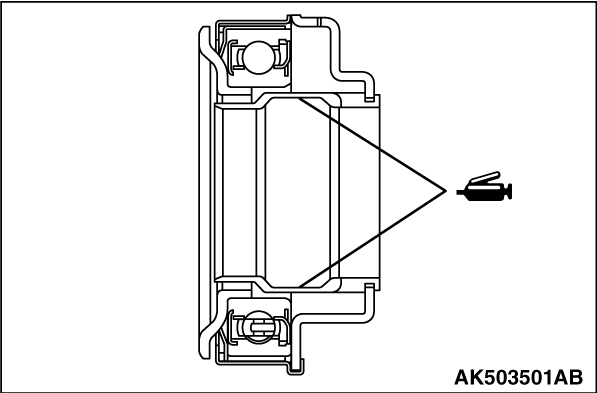
1.Apply the specified grease to the clutch release bearing inside, and fill grease in the
groove.
Specified grease:
Mitsubishi Part No. 0101011 or equivalent
2.Install the clutch release bearing on the bearing retainer of the transmission.
3.Install the return clip to engage the clutch release bearing with the fork.
|

|
1.Apply the specified grease to the clutch disc splines and rub it in splines with a brush.
Specified grease:
Mitsubishi Part No. 0101011 or equivalent
2.Use the clutch disc guide to position the clutch disc on the flywheel.
|

|
3.Install the clutch cover, aligning its installation position with the dowel pins, and
then tighten the bolts to the specified torque of 19 ± 3 N·m in the order
shown in the illustration.
|
)

)
)
)
)
)