|
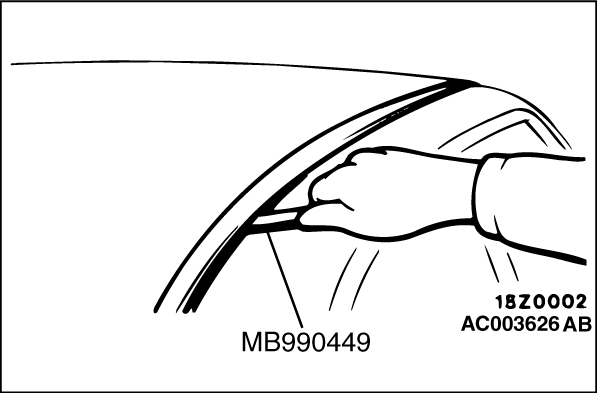
Use the special tool window moulding remover (MB990449) to pry out the moulding.
|
|
|
Install the clips to the roof drip moulding before installing the moulding to the vehicle
body.
|
|
|
Gently lift and remove the moulding. If there is any double-sided tape remaining on the
moulding, remove it according to the following instructions.
|
|
|
<Remove double-sided tape remaining on the body surface>
|

|
1.Attach protection tape all the way along the edges of the double-sided tape which is still
adhering to the body.
|
|
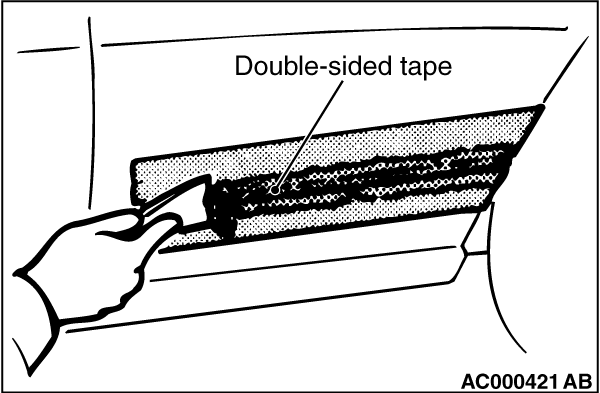
2.Use a resin spatula to scrape off the double-sided tape.
3.Peel off the protection tape.
4.Wipe the body surface and clean it with a rag moistened with isopropyl alcohol.
|
|
|
<Remove double-sided tape remaining on the moulding and adhere double-sided tape
(when re-using a moulding)>
|

|
1.Scrape off the double-sided tape on the moulding with a resin spatula as possible.
2.Wipe the door moulding surface and clean it with a rag moistened with isopropyl alcohol.
3.Remove only a small portion of the residual adhesive.
4.Adhere the double-sided tape as specified on the moulding.
|
|
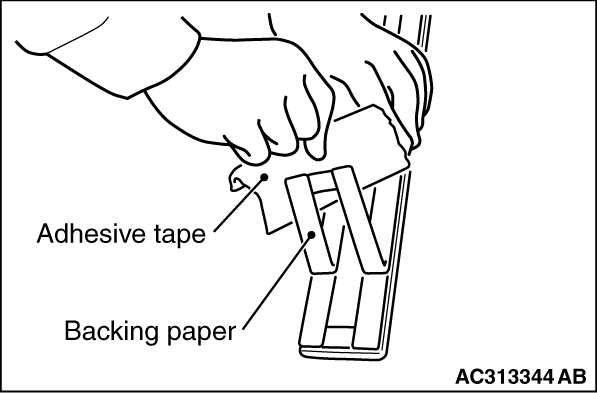
1.Tear off the double-sided tape backing paper.
| note |
If attach the adhesive tape to the edge of the backing paper, it will be easy to tear
off.
|
2.Install the clips to the moulding before installing it to the vehicle body.
3.Install the mouldings.
| note |
If the double-sided tape is difficult to affix in cold temperature, etc., warm the bonding
surfaces of the body and moulding to about 40- 60°C before affixing the tape.
|
4.Firmly press in the moulding onto the respective body surface.
|
)

)
)
)
)
)
)