|
|
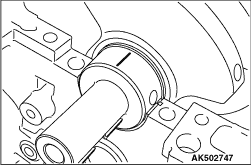
Oil clearance can be easily measured by using a "Plastigage."
|
|
|
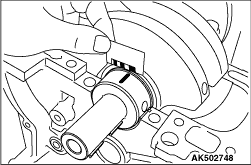
When using a "Plastigage," perform measurement in the following procedure.
|
|
|
1.Fully wipe oil off the outside diameter of the crankshaft and inside diameter of the
bearing.
|
|
|
2.Assemble the crankshaft.
|

|
3.Place a Plastigage in length equal to the bearing width on the journal shaft straight
in alignment with the shaft centre.
4.Carefully install the bearing cap and tighten the bolt according to the main point
of installation >>B<<.
5.Remove the bolt, and then carefully remove the crankshaft bearing cap.
|

|
6.Measure the crushed Plastigage width (area most widely crushed) using a scale printed
on the Plastigage bag.
Standard value: 0.012 - 0.030 mm
Limit: 0.1 mm
|
|
|
1.Visually check the cylinder block for scratch, rust and corrosion. Use a flaw detecting
agent to check for cracks. If it is found faulty, repair or replace it.
|
|
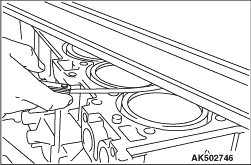
2.Measure distortion on the top surface of the cylinder block using a straight edge and
thickness gauge.
If distortion exceeds the limit, grind and repair it.
A gasket or the like must not be adhered to the top surface of the cylinder block during
measurement.
Distortion on bottom
Standard value: Within 0.05 mm
Limit: 0.2 mm
Grinding limit: 0.2 mm
3.Check the cylinder wall for scratch or seizure. If there is any defect, replace the
cylinder block.
|
|
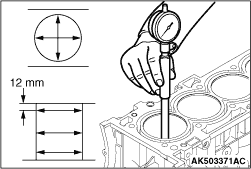
4.Measure the bore and cylindricity of the cylinder using a cylinder gauge.
If the cylinder is excessively worn, repair the cylinder and replace the piston and piston
rings.
Measuring points are as shown in the illustration.
Standard value
Cylinder bore: 86 mm <4B11>
Cylinder bore: 88 mm <4B12>
Cylindricity: 0.15 mm
|
