|
|
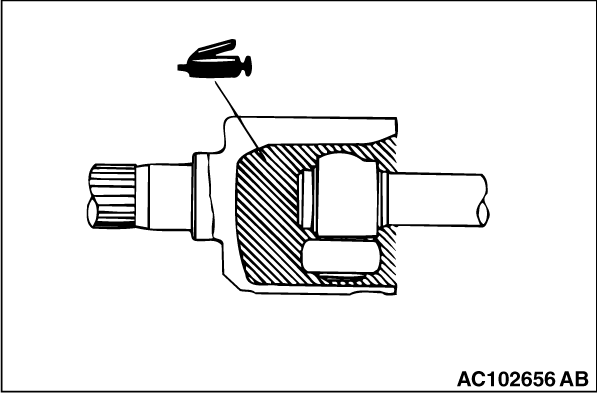
1.Wipe off the grease inside the ETJ case and on the spider assembly.
|
|
|
2.If the grease is contaminated with the foreign material (water, dust, etc.), be sure to wash the spider assembly.
|
|
|
1.Wipe off the grease on the shaft spline.
|
|
|
2.If the ETJ boot is reused, protect the shaft spline area with taping from the damage in removal of the boot.
|
|
Fill the ETJ case with the specified grease, insert the drive shaft, and then fill the specified grease again.
Specified grease: Repair kit grease
Application amount: 75 ± 10 g
| note |
When using the repair kit grease, fill the half of the grease into the joint and the other half into the boot as a guideline, and consume the grease completely.
|
|

|
Adjust the distance between the boot bands to the standard value to adjust the air volume inside the ETJ boot to the specified value, then be sure to tighten the ETJ boot band (large) and ETJ boot band (small).
Standard value (A): 75 ± 3 mm
|
)

)
)
)