REMOVAL AND INSTALLATION


Front door trim removal steps


·
Tweeter connector

>>A<<
1.
Front door sash trim
<<A>>

2.
Inside handle cover cap


3.
Door trim cap
<<B>>
>>B<<
4.
Front door trim


5.
Power window switch panel


·
Power window switch connector


6.
Power window switch


·
Remote-controlled mirror switch connector (RH)


7.
Remote-controlled mirror switch (RH)


8.
Front door pull handle bracket


Rear door trim removal steps
<<A>>

1.
Inside handle cover cap


2.
Door trim cap
<<B>>
>>B<<
3.
Rear door trim


4.
Power window switch panel


·
Rear power window sub-switch connector


5.
Power window switch


6.
Rear door armrest bracket

REMOVAL SERVICE POINTS


<<A>> INSIDE HANDLE COVER CAP REMOVAL


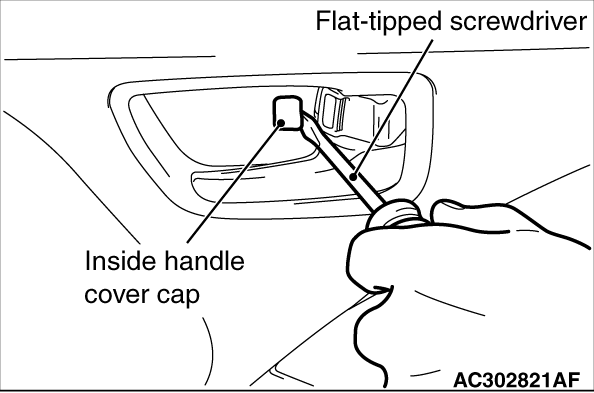
Insert a flat-tipped (-) screwdriver as shown in the figure to remove the inside handle cover cap.

<<B>> FRONT/REAR DOOR TRIM REMOVAL


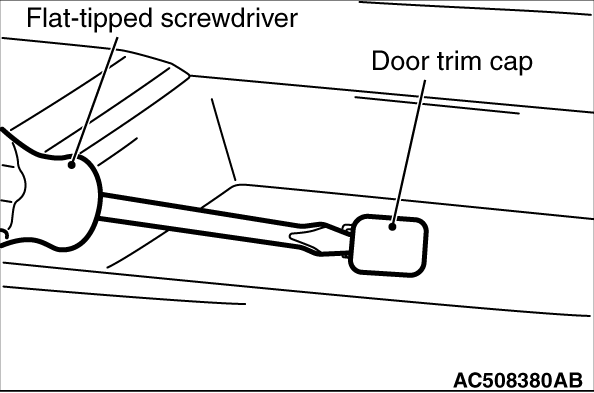
1.Insert a flat-tipped (-) screwdriver as shown in the figure to remove the door trim cap.

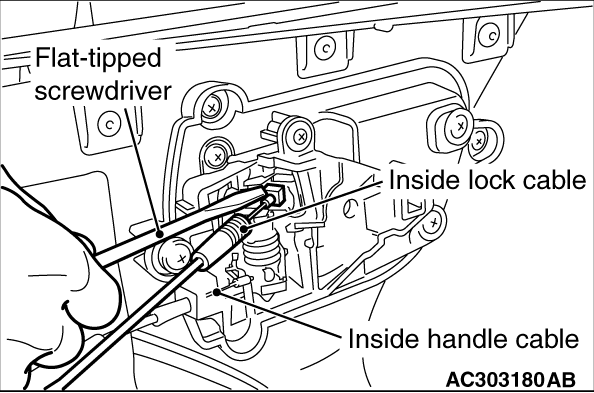
2.Using a flat-tipped (-) screwdriver as shown in the figure, remove the inside lock cable and the inside handle cable, then remove the door trim.

INSTALLATION SERVICE POINTS


>>A<< FRONT DOOR SASH TRIM INSTALLATION


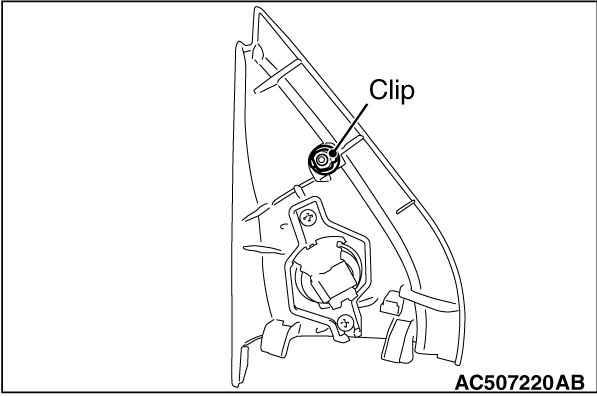
Install it with the clip attached as shown in the figure.

>>B<< FRONT DOOR/REAR DOOR TRIM INSTALLATION


After the power window switch is installed or replaced, perform learning of the power window fully-closed position (Refer to GROUP 42A - Door Glass and Regulator ).