|
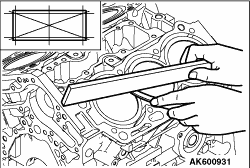
1.Using a straightedge and freeler gauge, check the block top surface for warpage. Make
sure that the surface is free from gasket chips and other objects.
Standard value: 0.05 mm
Limit: 0.1 mm
2.If the distortion is excessive, replace the cylinder block.
|
|
3.Check cylinder walls for scratches and seizure. If defects are evident, correct (bored
to oversize) or replace.
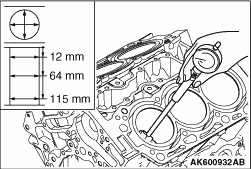
4.Using cylinder gauge, measure the cylinder bore, and cylindricity. If worn badly,
correct cylinder to an oversize and replace piston and piston rings. Measurement points are shown
in illustration.
Standard value
Cylinder I.D.: 87.6 mm
Cylindricity: 0.015 mm
|
|
|
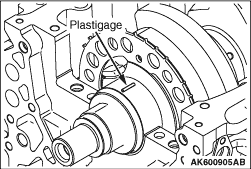
The crankshaft oil clearance can be measured easily by using a Plastigage, as follows:
|
|
|
1.Remove oil and grease and any other foreign matters from crankshaft journal and bearing
inner surface.
|
|
|
2.Install the crankshaft.
|

|
3.Cut the Plastigage to the same length as the width of bearing and place it on journal
in parallel with its axis.
|
|
4.Gently place the crankshaft bearing cap over it and tighten the bolts to the specified
torque.
5.Remove the bolts and gently remove the crankshaft bearing cap.
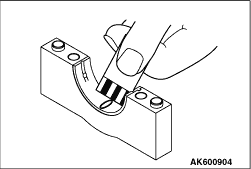
6.Measure the width of the smashed Plastigage at its widest section by using a scale
printed on the Plastigage bag.
Standard value:
Number 1 and 4 journal
0.018 - 0.038 mm
Number 2 and 3 journal
0.024 - 0.044 mm
Limit: 0.1 mm
|
