| 1.
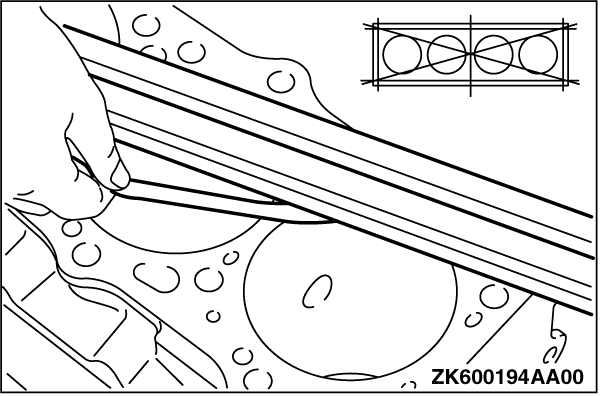
Using a straightedge and thickness gauge, check the block top surface for warpage. Make
sure that the surface is free from gasket chips and other objects.
Standard value: 0.05 mm
Limit: 0.1 mm
2.
If the distortion is excessive, replace the cylinder block.
|

| 3.
Check cylinder walls for scratches and seizure. If defects are evident, correct (bored
to oversize) or replace.
4.
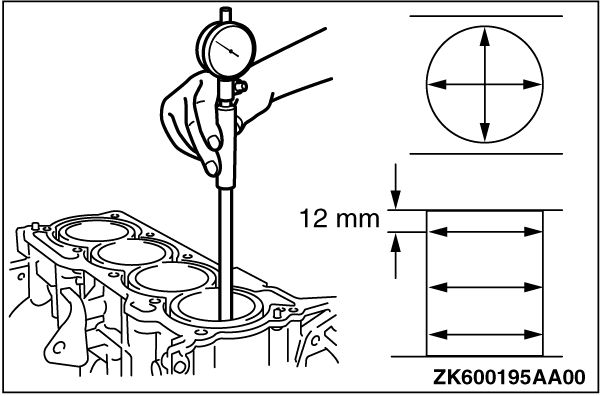
Using cylinder gauge, measure the cylinder bore, and cylindricity. If worn badly,
correct cylinder to an oversize and replace piston and piston rings. Measurement points are
shown in illustration.
Standard value:
Cylinder I.D.: 98.50 - 98.53 mm
Cylindricity 0.015 mm
|
